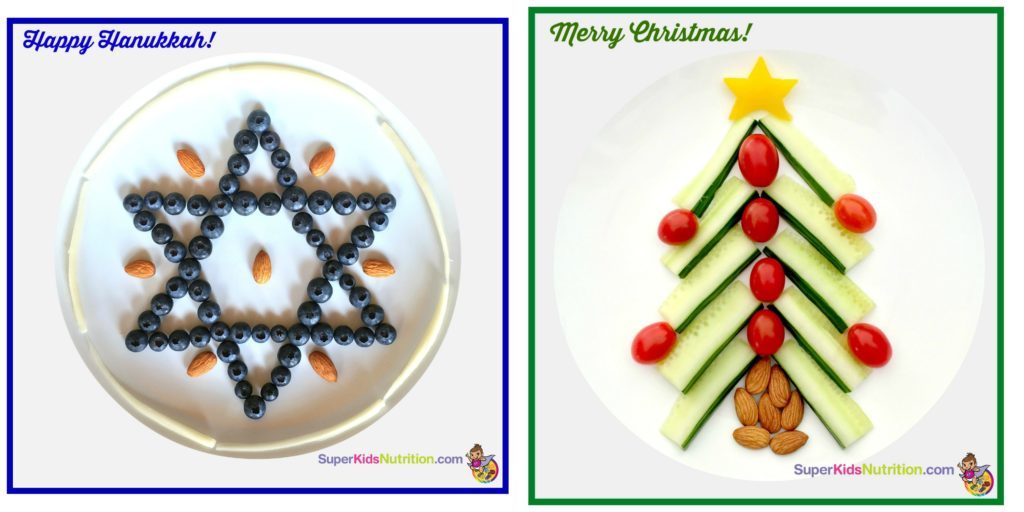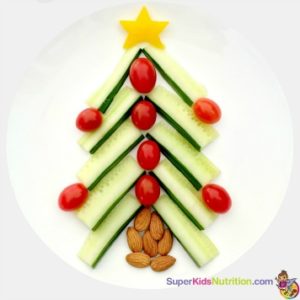
Nutrition activities for kids can introduce your children to new healthy foods. Try these fun ideas for holiday food art for kids!
The holidays are a time we remember for years to come. What are some of your favorite memories? For me, it’s helping put the lights on the house, listening to holiday music albums, baking cookies with my mom, and laughing our heads off playing games with the family on Christmas day (our favorites were Catch Phrase and Scattergories!). Because it’s a time of gathering and celebration (even if that means over video calls!), it’s the perfect time to instill fun, happy memories around healthy foods with your kids!
Follow these 3 easy steps to be on your way to holiday food art fun!
Step 1 – Gather Food Art Ingredients and Supplies
Veggies, fruits, and other healthy snacks of all kinds – get creative! They don’t have to all be Christmas or Hanukkah colors. Here are some great ideas, and remember – you don’t have to use all or any of these. Use what you have, or grab a few times from the grocery store and try out some veggies you’ve never had before! It can take 5, 10, or even 15 tries until children get comfortable with or begin to like eating a new food – this is a perfect way to introduce or re-introduce veggies to your kids as part of a fun, positive experience!
Veggies
- Red, yellow, and/or green bell pepper
- Cucumber
- Carrot
- Cherry tomatoes
- Celery
- Broccoli
- Cauliflower
- Brussels sprouts
- Mushrooms
Fruits
- Strawberries
- Raspberries
- Blueberries
- Banana
- Clementines
- Oranges
Protein, Grains, and Dairy
- Almonds
- Walnuts
- Whole grain pretzel sticks
- String cheese
- Mozzarella balls
- Greek yogurt
Kitchen Supplies
- One large plate for each person
- Cutting board and knife – unless you are only using snacks that don’t need to be cut, like blueberries, raspberries, nuts, and clementines
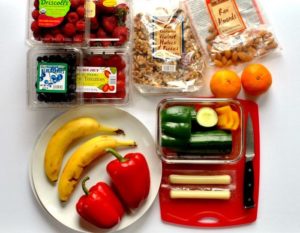
Step 2 – Prep Ingredients for Holiday Food Art
You can do this as you go, especially if you’re coming up with new ideas on the spot. Say you decide to cut a star or mini tree out of bell pepper or carrot; you don’t have to pre-cut all of your ingredients before you decorate. But if you want to, you can cut your veggies and fruits and place them in bowls or on a large plate so that they’re ready for the kids and yourself to grab and decorate.
Here are a few ideas of ways you can prep and use different ingredients.
For the leaves of a Christmas tree
- Cucumber sliced into circles or strips
- Green bell pepper sliced into strips
- Celery sliced into strips
- Clementines peeled and separated
For a Santa hat or beard
- Strawberries sliced or whole with just the leaves cut off
- Red bell pepper sliced into strips or squares
- Raspberries
- Banana sliced
- Greek yogurt (add herbs and spices after for a yummy dip for the veggies)
Your kids can help with this! Research studies have shown that when children are involved in selecting and preparing foods, they are more likely to eat and even enjoy them. (1,2) If they’re too young to chop, ask them to wash/rinse and dry the fruits and veggies.
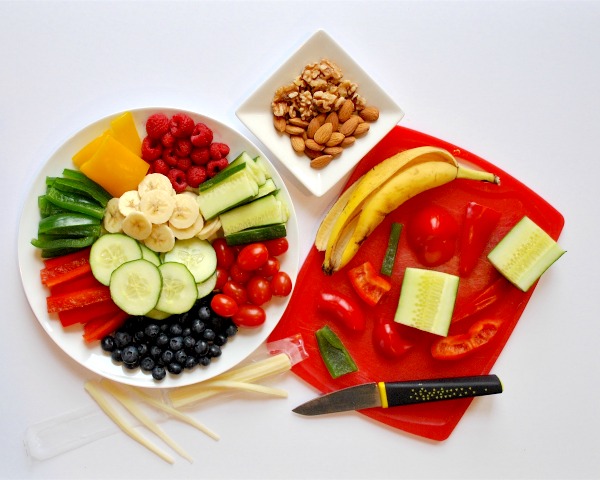
Step 3 – Decorate Your Plate!
Try some of the ideas below for fun food art for kids, or create your own! Let you and your kids’ imaginations run wild. If you don’t feel like making something holiday-themed, don’t! Make whatever makes you and your child’s hearts happy.
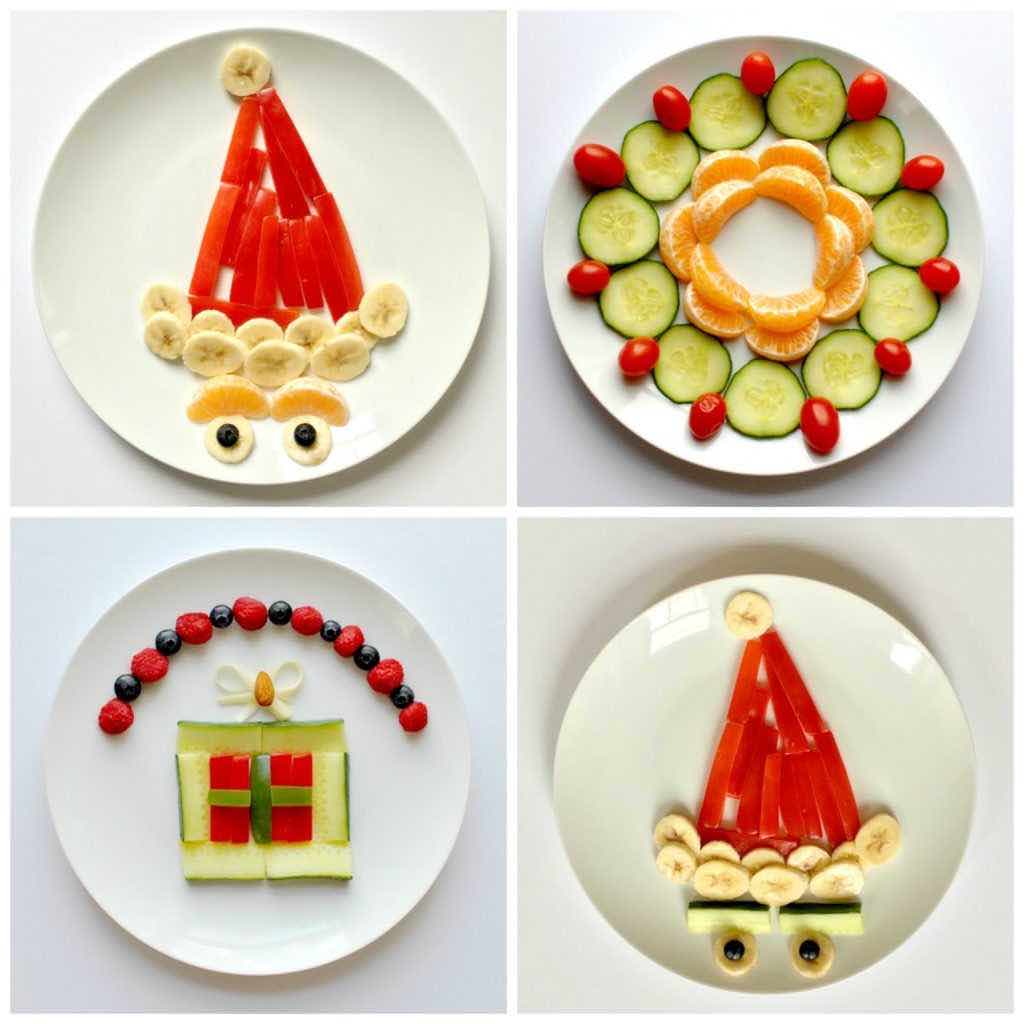
If you make any food art with your kids, post a photo and tag @superkidsnutrition on Instagram or @kidsnutrition on Twitter – we would love to see your masterpieces!
